Shopping lists
There can be any number of shopping lists, which can also be configured in two levels if required.
One special shopping list is the default shopping list with the fixed name "-Shopping-" This shopping list cannot be renamed, deleted, or configured in two levels. It is used when the Buy button is simply clicked while editing a product or stock item without explicitly specifying a shopping list.
Otherwise, the configuration and selection of a shopping list is identical to other 2-level elements.
For simplicity, when "Shopping Lists" is selected in the main menu, the contents of the default shopping list are displayed immediately if no other shopping lists exist. Otherwise, all shopping lists are first presented for selection.
For each top-level shopping list except the default shopping list, a menu selection option during configuration can be used to specify an order of the categories can be specified for each top-level shopping list except for the default shopping list. When the shopping list is then sorted by category, the defined order of categories is used. This allows you to flexibly specify the order of the items on the shopping list. If you then create a separate shopping list with a category order for each store, you can easily arrange the items in the order in which you pass them in the store. This order of categories is created when configuring the shopping list via the menu.
The content of a shopping list (if it is not empty) usually contains a series of products in the following form:
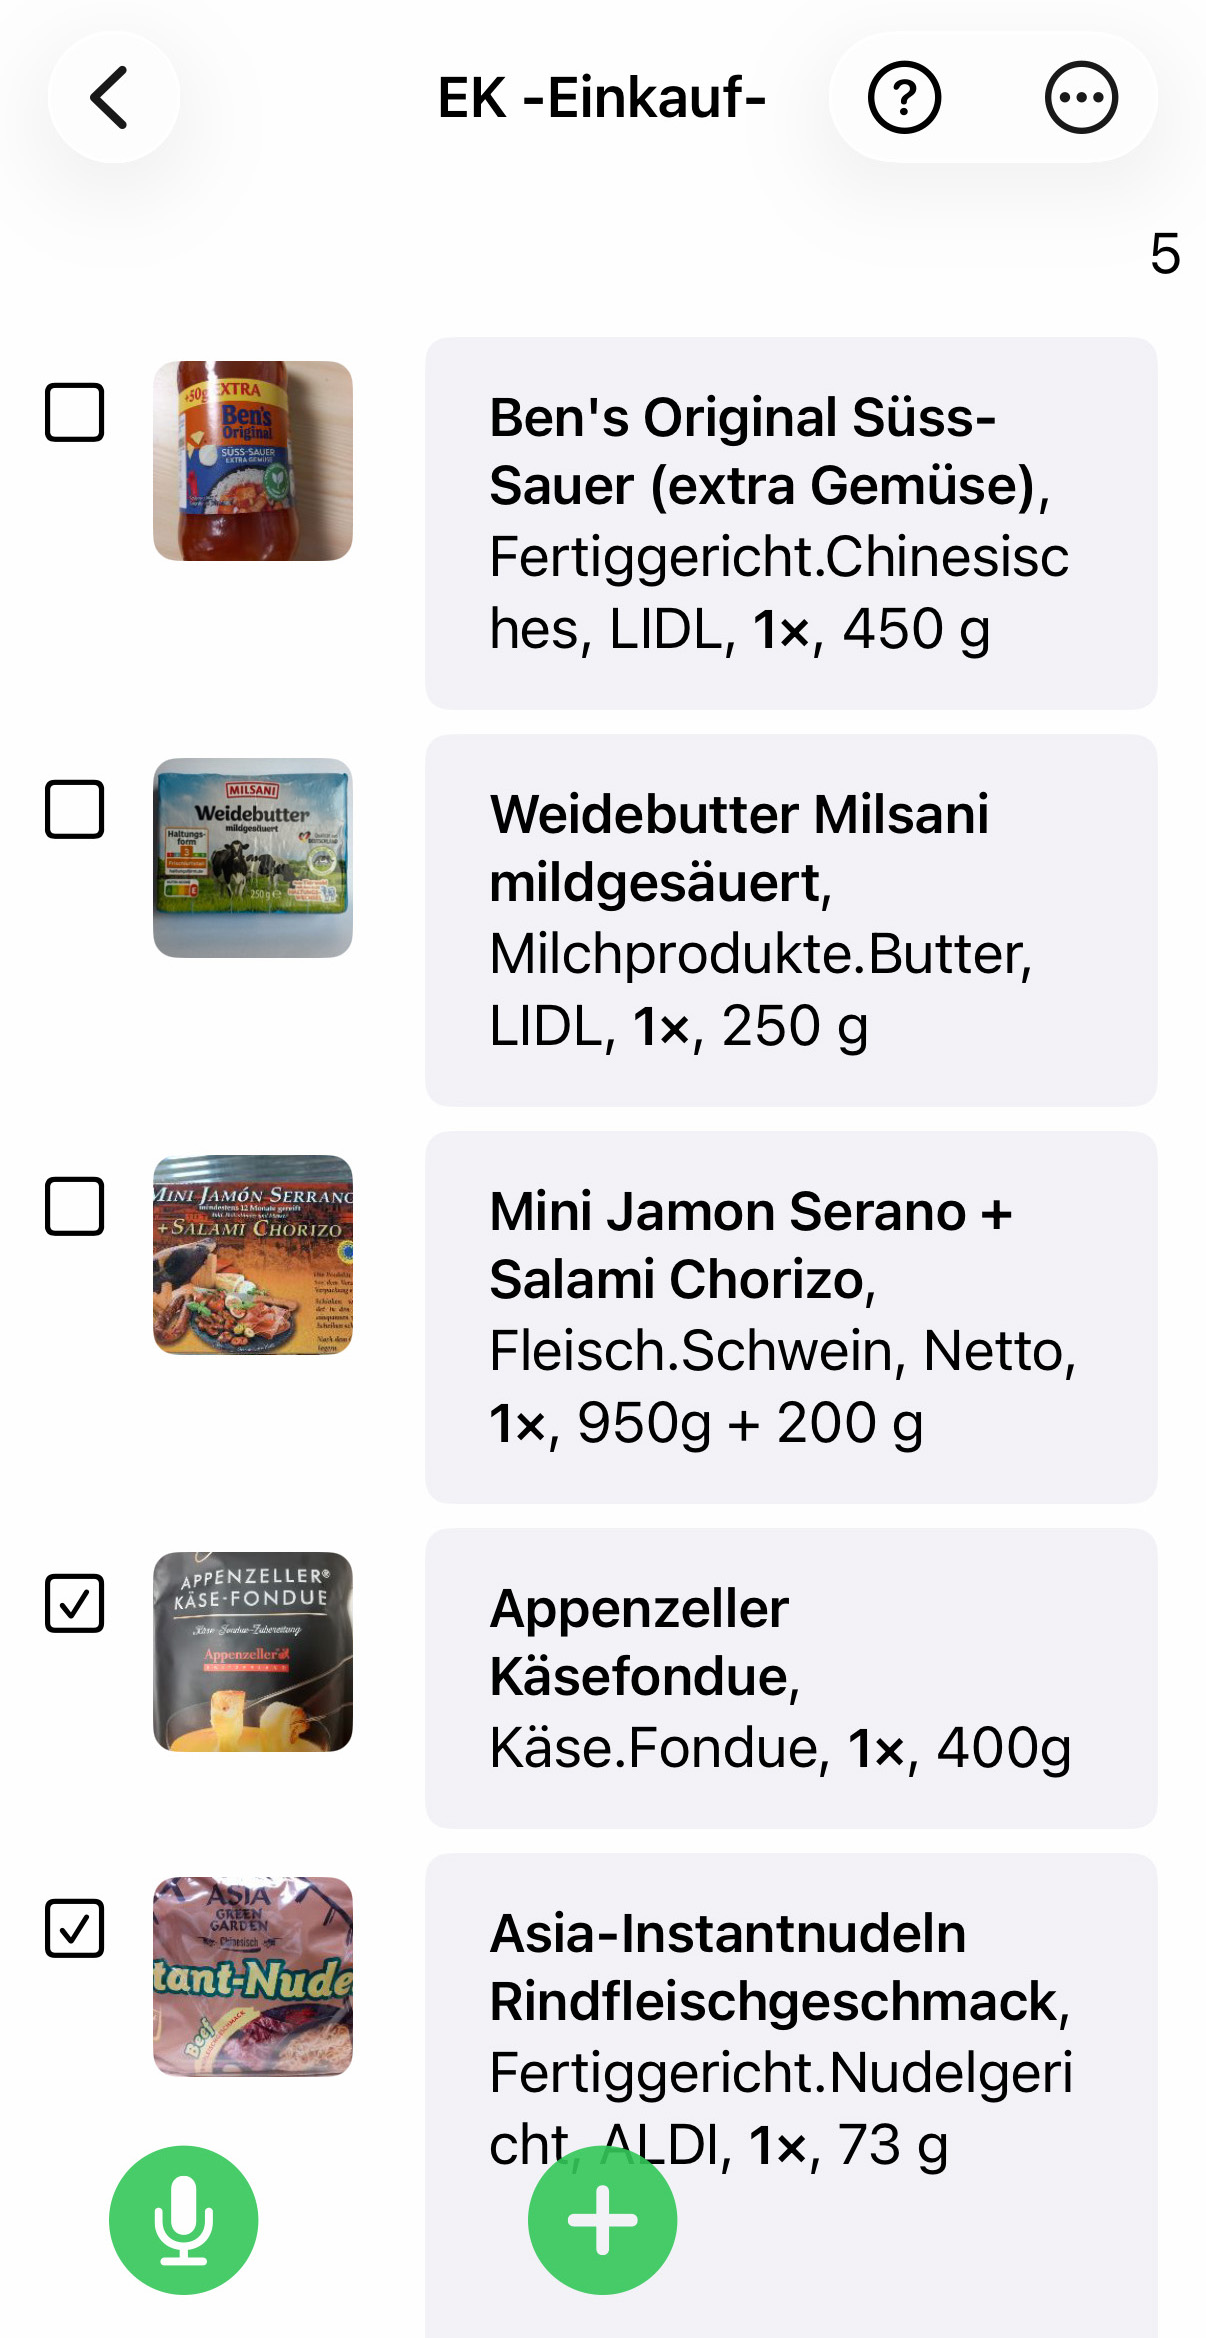
The products are arranged in the 'normal' order according to where they are purchased and alphabetically within this order.
The boxes on the left can be 'checked' to indicate that the corresponding product has already been purchased (i.e., is in your shopping cart). A product that has already been purchased is not removed but moved down the list (possibly to the scrollable part that is no longer visible) so that the products still to be purchased remain at the top. If the check mark is removed, the product moves back up. This allows you to keep track of what still needs to be purchased, especially with longer shopping lists, without losing control of the overall purchase.
The ![]() button opens the product search window, and a new product can be added to the shopping list by searching for a product name.
button opens the product search window, and a new product can be added to the shopping list by searching for a product name.
The ![]() button does the same thing, except that the product is searched for directly via voice input:
button does the same thing, except that the product is searched for directly via voice input:
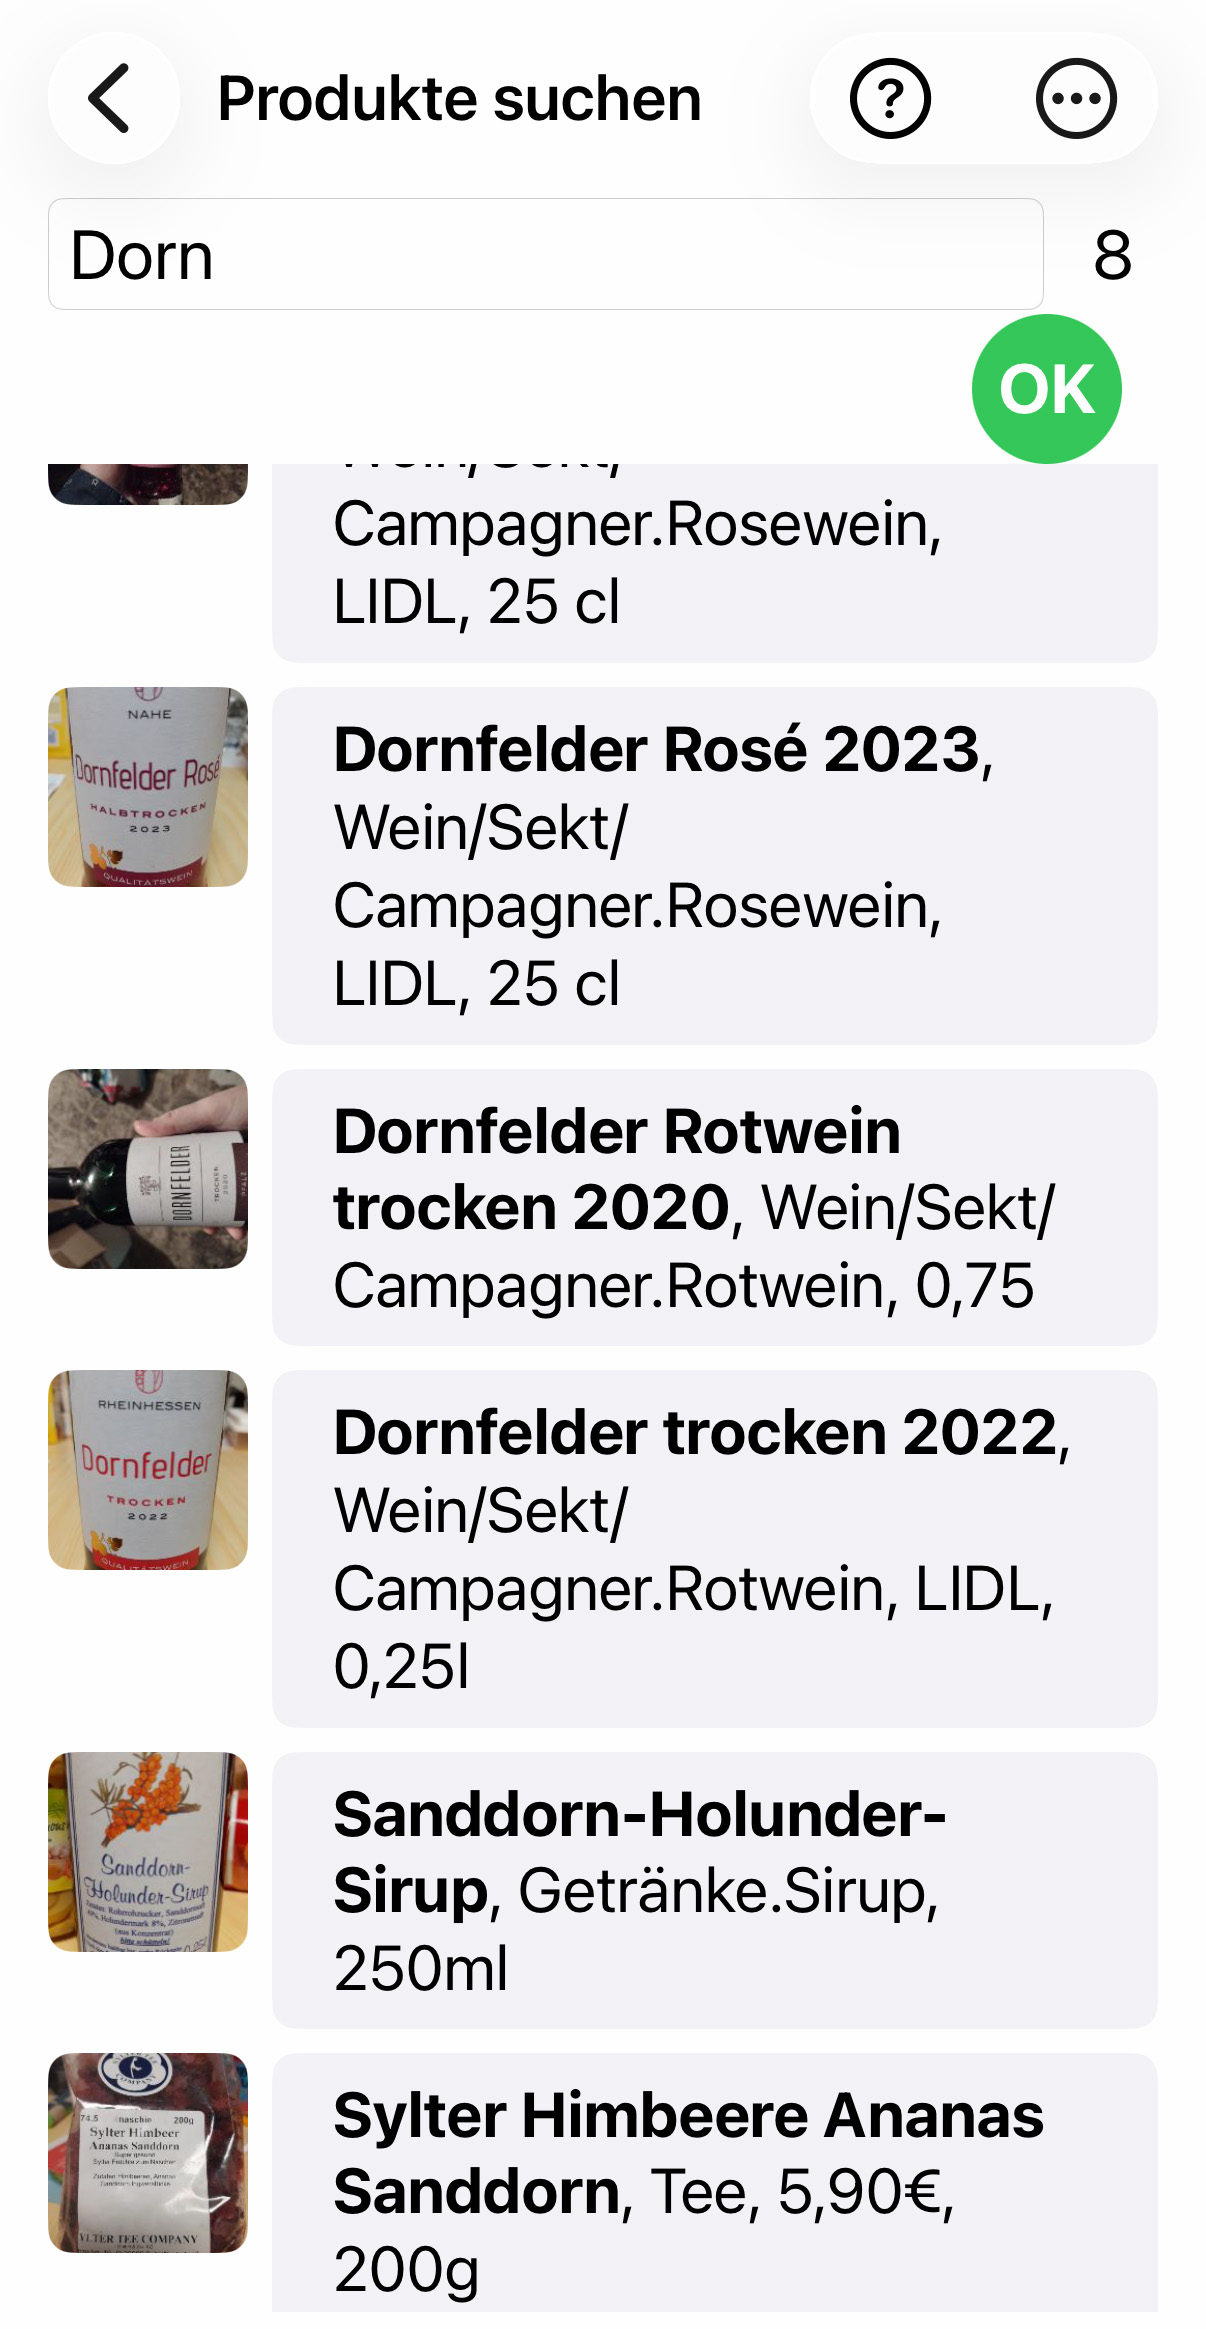
Whether using the keyboard or voice input, only a partial term needs to be entered for the search, and all products to which the partial term applies will be displayed. If only 1 or 2 characters are entered, they must be at the beginning of the product name; if 3 or more characters are entered, the search term can be anywhere in the product name (in this example, "dorn").
If the search returns only one product, this product is immediately added to the shopping list.
If you see the product you are looking for in the list (possibly after scrolling), you can simply click on it and the product will be added to the shopping list.
Clicking on ![]() repeats the search with a new term via voice input.
repeats the search with a new term via voice input.
Clicking on ![]() (Add new product ) defines the entered term (regardless of whether anything was found) as a new product and immediately displays the corresponding product input mask so that you can specify additional properties such as quantity, number, place of purchase, etc. before adding it to the shopping list.
(Add new product ) defines the entered term (regardless of whether anything was found) as a new product and immediately displays the corresponding product input mask so that you can specify additional properties such as quantity, number, place of purchase, etc. before adding it to the shopping list.
Clicking on ![]() opens the shopping list menu:
opens the shopping list menu:
- Totals lists an overview of how many products have already been purchased, what the total price is, etc.
- Send shopping list sends the shopping list as an HTML file via WhatsApp or email to someone who is supposed to do the shopping but does not have the app or is not in the same group as the sender.
- Move to storage locations allows you to conveniently transfer products that have already been purchased to the appropriate storage locations.
- Transport all to marked storage locations Transports all purchased items to the storage locations already saved for the product, if specified.
- Clear shopping list Removes all items from the shopping list. If there are items in the list that have not yet been purchased, they are moved to the reserve shopping list so that you cannot accidentally lose your shopping list while you are out shopping.
- Remove purchased items from shopping list removes only those items that are already marked as purchased.
- Display shopping list in HTML creates an HTML file, as when sending, which is displayed immediately.
- Export shopping list as CSV file creates a CSV file that can then be sent or saved to Google Drive, for example
- Sort shopping list offers a submenu for sorting the shopping list:
- Standard sorting restores the default sorting, i.e., sorted by purchase location and alphabetically within a purchase location (this sometimes makes sense even after reinserting products).
- Sorted by category, alphabetically by place of purchase, within the place of purchase by category, and within the categories by subcategory. If a category order is defined for the shopping list (for Pro version), sorting is only done according to this specified order, regardless of the place of purchase.
- Sorted by subcategories Strictly according to the (sub)categories stored in the products.
- Hide micro symbol is used to temporarily hide the micro symbol so that you can also read the last two product lines.
When the products are transferred to the corresponding storage locations, the purchased products are listed in the following form, whereby the desired storage location 'Basement' has already been selected (at the top under Storage location):
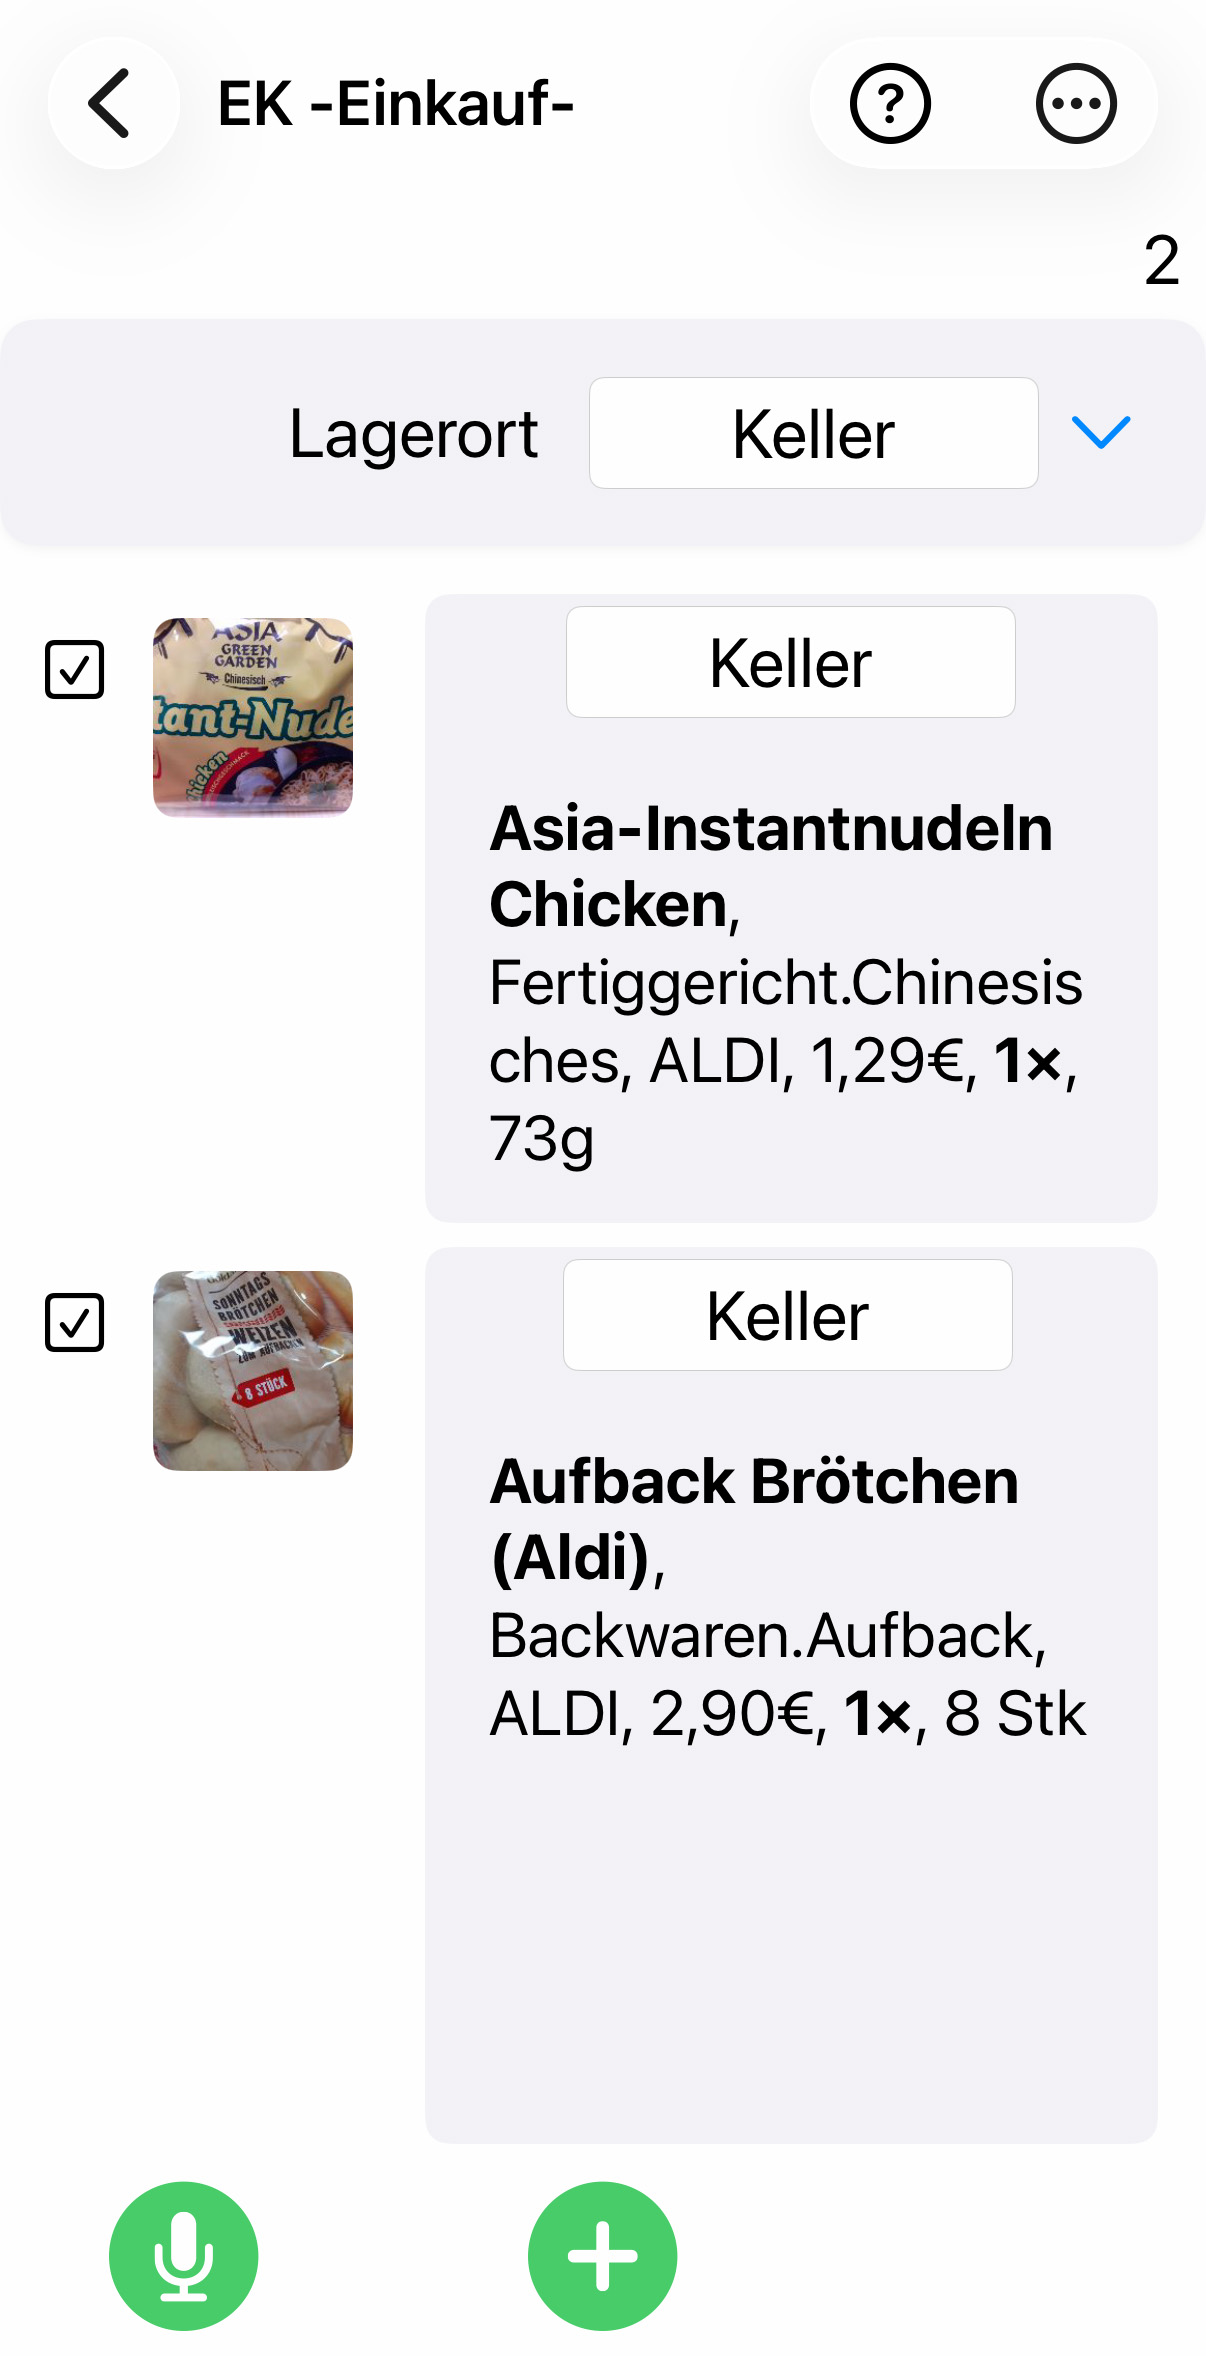
You can then quickly "pack" products purchased in quick succession into the selected storage location using the storage location buttons. Changing the selected storage location will also change all storage location buttons.
You have greater flexibility when transferring items to the stock if you process the purchased items individually by clicking on the menu item 'put into stock'. This brings up a modified processing mask in which you can then specify the storage location, quantity, best-before date, and other properties before transferring the items.
The individual menu appear, if you click on an item :